
A guide to draught-proofing
Getting rid of unwanted draughts around your home is one of the easiest and most cost-effective ways to save energy and reduce your bill. This guide takes you through the basics, plus everything you need to know, room by room.
The basics
What’s the difference between a draught and ventilation?
The important difference between draughts and ventilation is that ventilating your home is a deliberate process, whereas draughts aren’t deliberate. Controlled ventilation helps to reduce and prevent condensation, damp and mould building up in your home, by introducing fresh air into the environment. In contrast, draughts are unplanned and let in an amount of air that can’t easily be controlled.
A simple way of thinking about it is to consider the difference between opening a window when it’s steamed up to allow the condensation to dissipate, versus having an ill-fitting window that constantly lets in cold air. This badly fitting window will prevent condensation, but it will also make the room far too cold.
What ventilation should I keep?
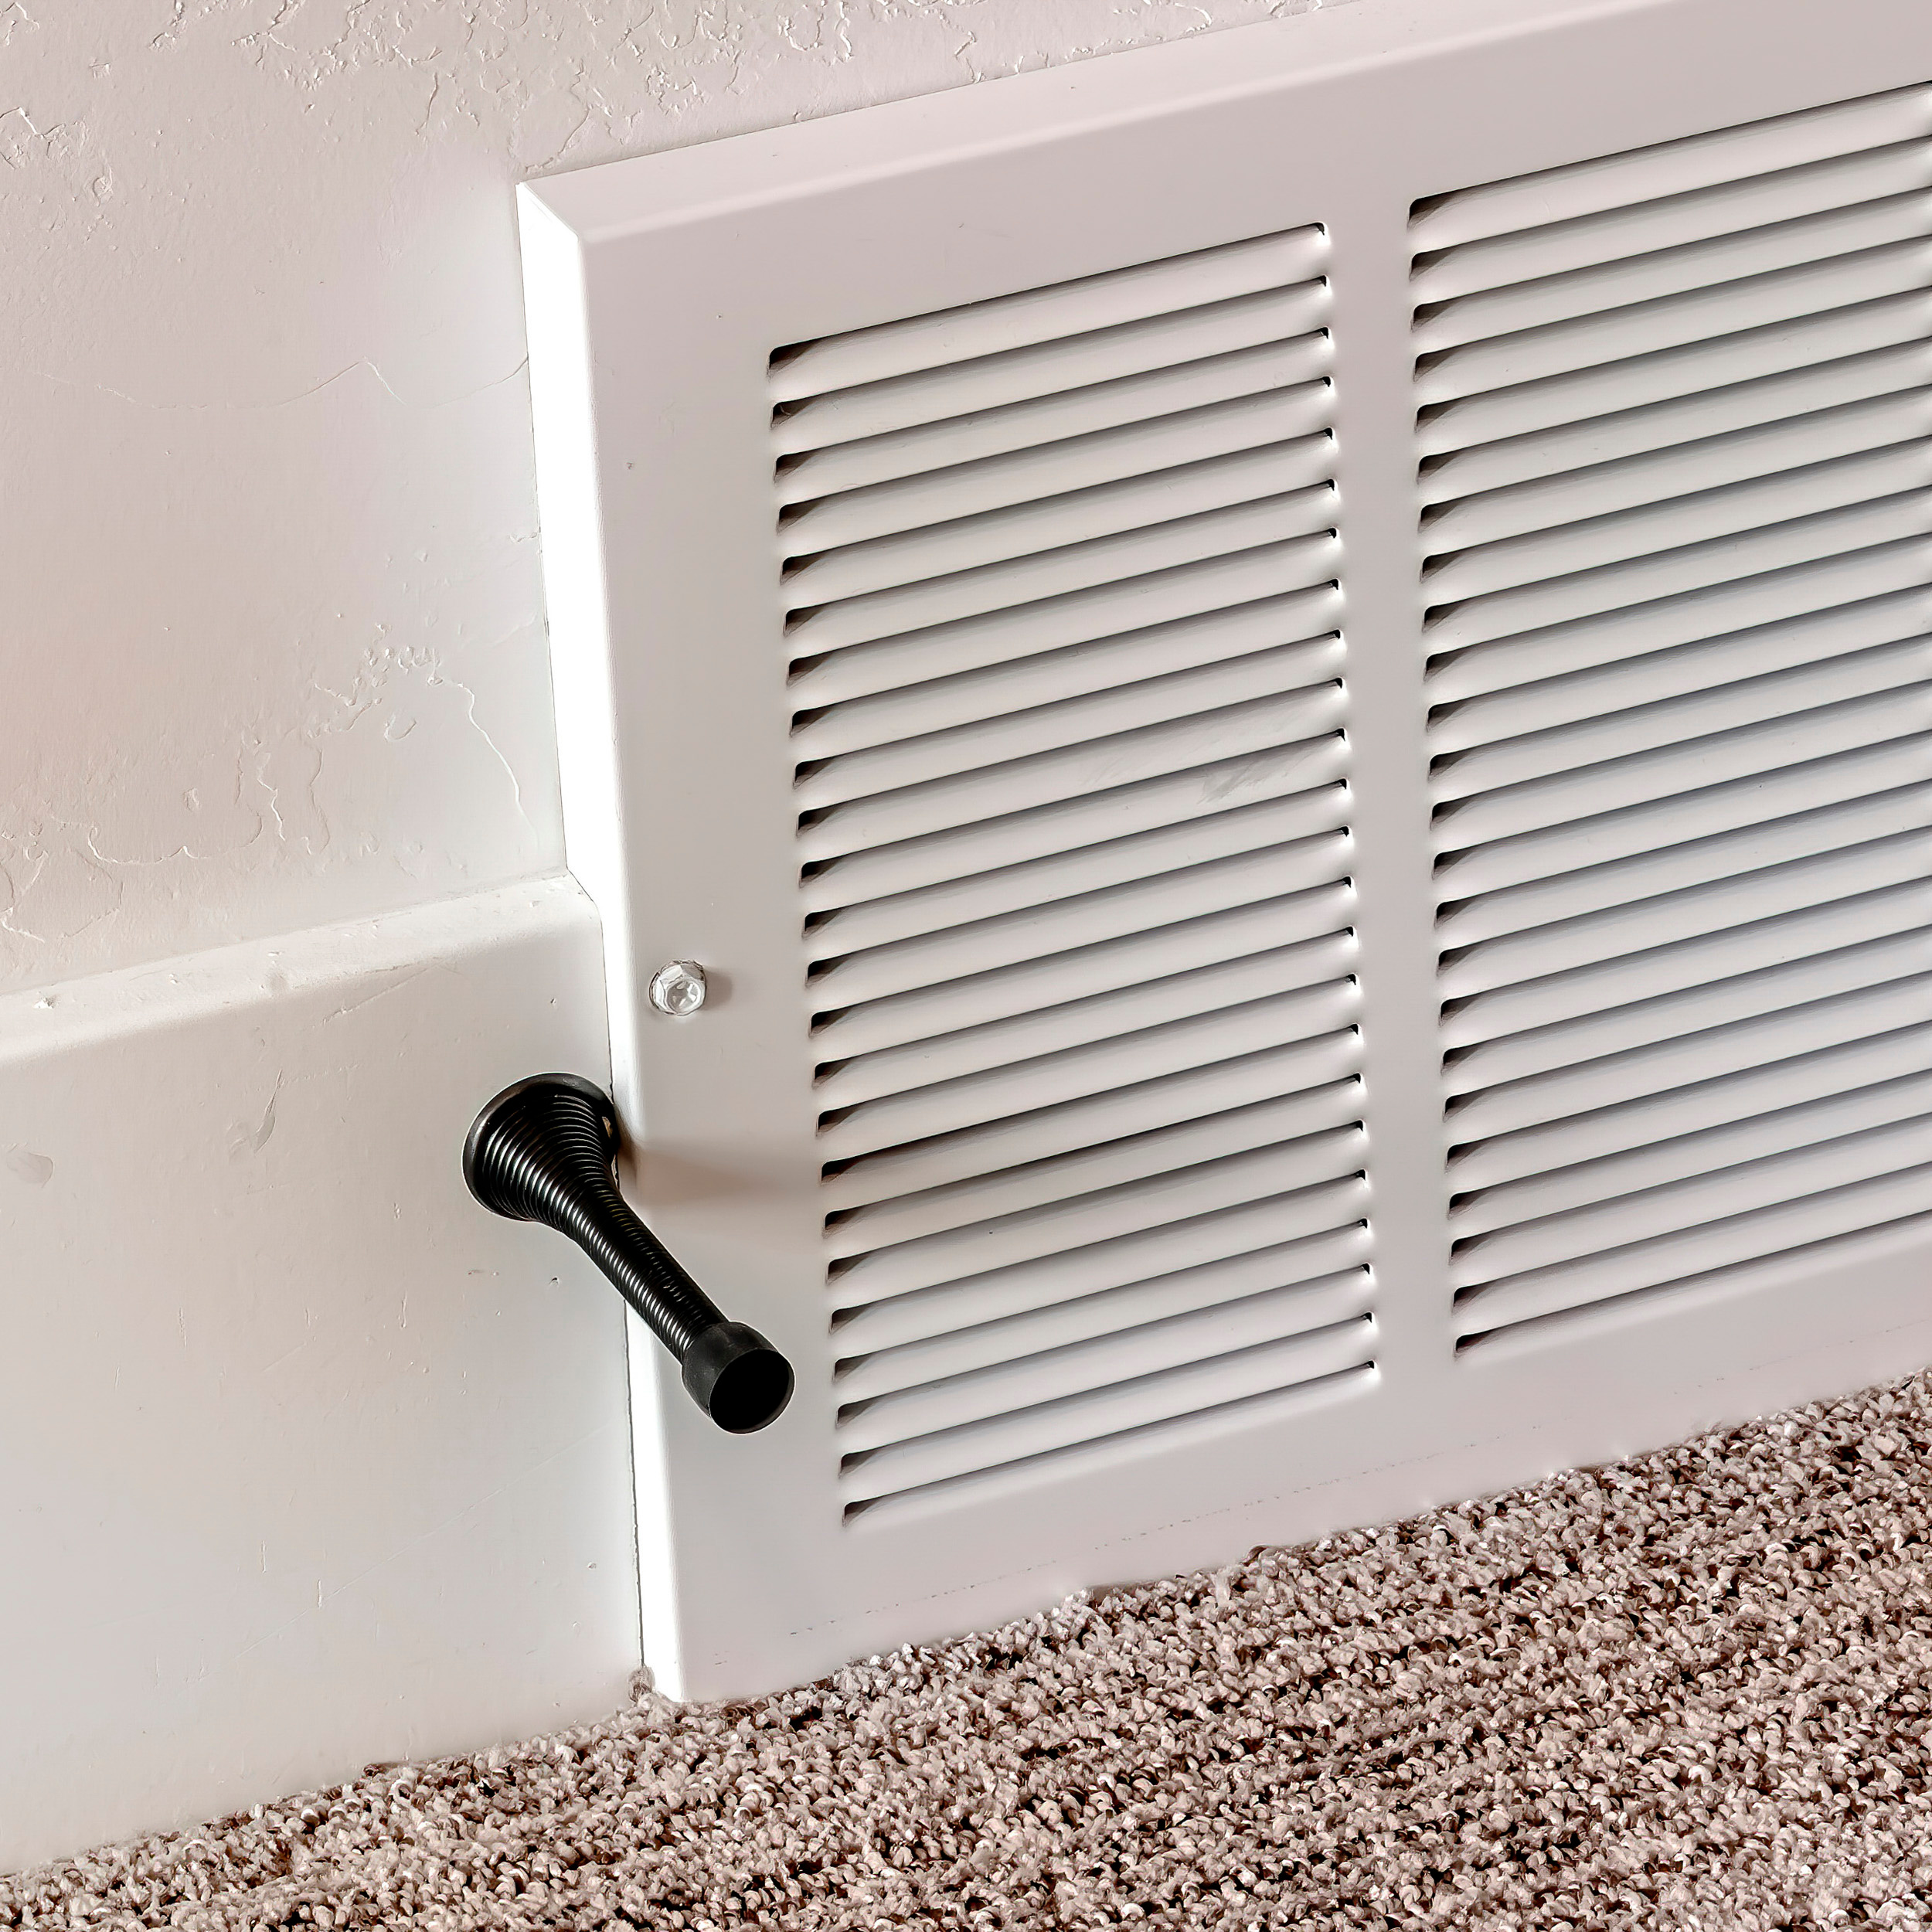
To ensure that your environment stays clean and healthy, you need a certain amount of planned air flow (or ventilation as it’s usually known). Make sure you don’t ‘draught-proof’ any of this essential ventilation, including:
- Extractor fans, which remove damp air quickly in rooms where it’s likely to cause a problem (such as kitchens and bathrooms).
- Underfloor air bricks and grilles, which prevent moisture from rotting wooden beams and floors.
- Wall vents, which let small amounts of fresh air into your home.
- Trickle vents, which can usually be found above windows, allowing a small amount of air to get in.

How do draughts get in?
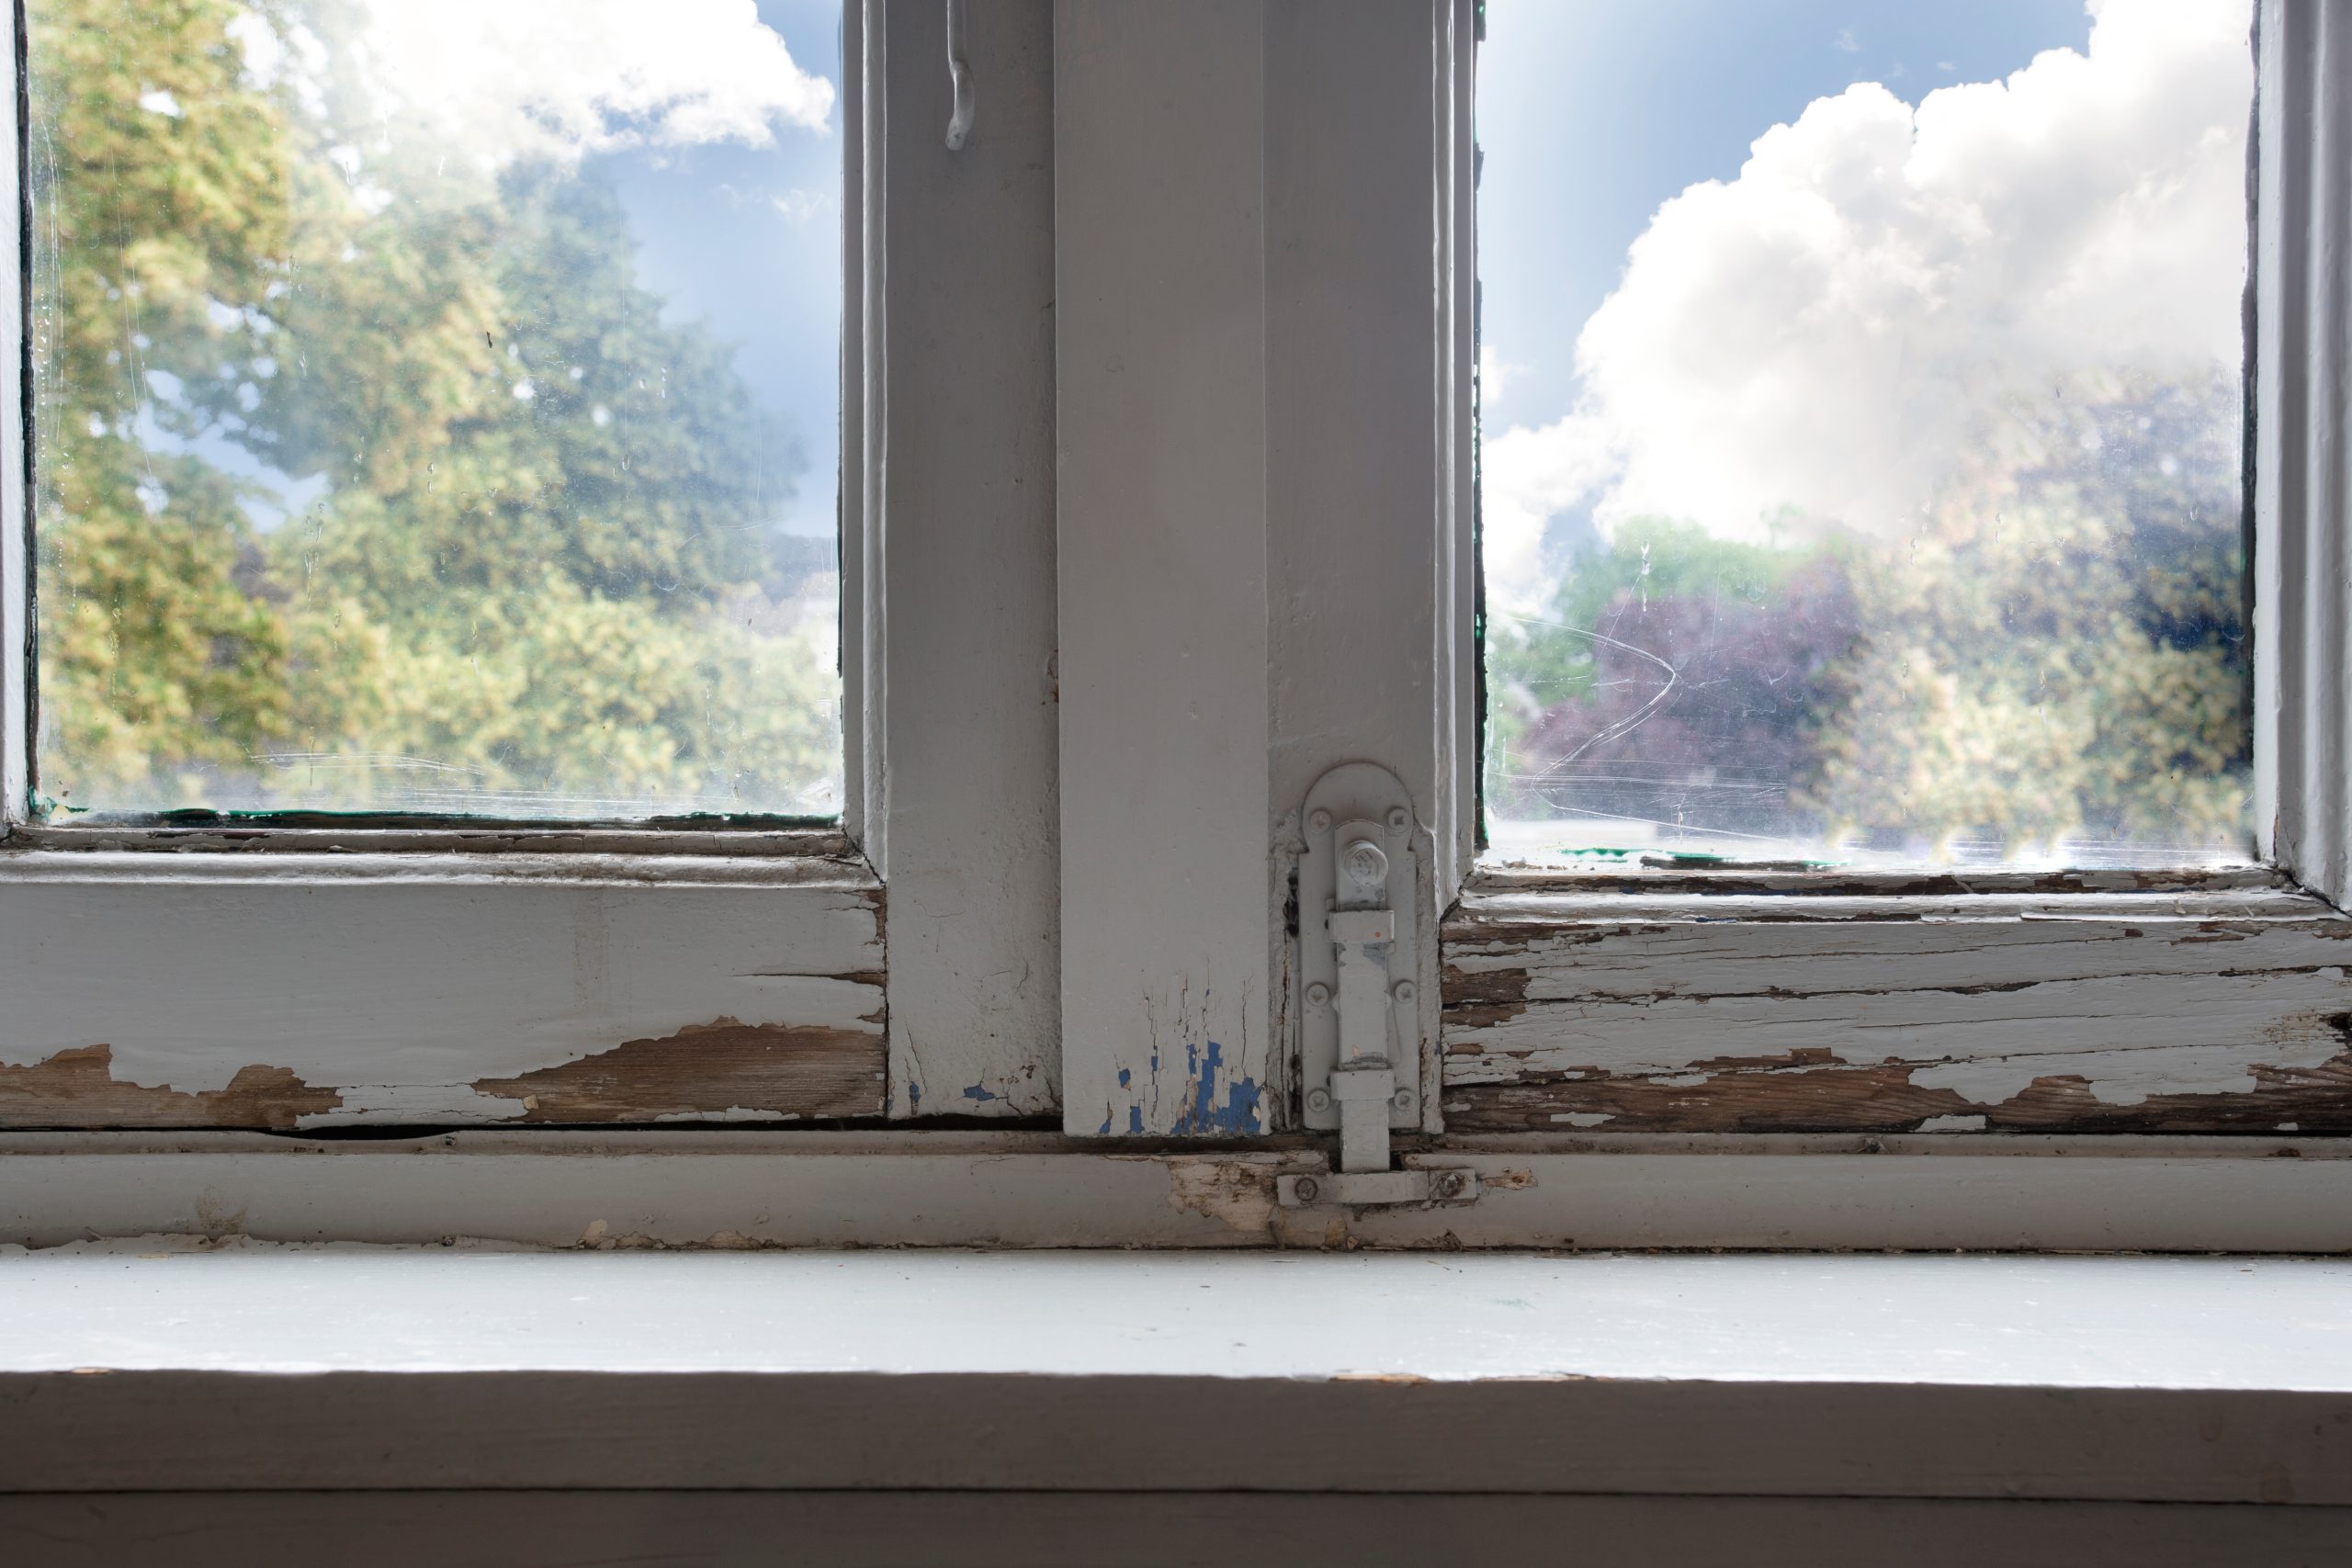
There are various aways that draughts can easily get into your home. Most houses have cracks and gaps in their construction that both allow cold air in and warm air out. Older homes are more likely to have these issues, or homes where fittings such as windows and doors have been in place for a long time.
If you’re trying to identify potential problem draughts, you could try picking a particularly cold and windy day and moving the back of your hand around the edges of doors, windows and other areas where there may be gaps in the fabric of the building (such as floorboards, chimneys, and loft hatches). If you’re struggling to identify these gaps yourself, you can get a professional in, who will likely use a smoke pencil or match to identify any problem draughts.
How will draught-proofing help me save?
Homes that are draught-free will be more comfortable at lower temperatures (as you’re not experiencing the in-flow of cold air), so you might be able to turn down your thermostat. They also require less energy to heat, as you’re preventing warm air from escaping through the same gaps in the building.
Particular draught-proofing issues (such as leaky chimneys and windows) are likely to amount to larger savings, as the amount of cold air you’ll be cutting out is larger than that let in by, for example, a letterbox. However, every little helps, so it’s worth tracking down and dealing with as many draughty spots as you can.
A tour of your home
Loft hatches
Look for draughts between the hatch and the frame.
Ways to draught-proof
There are two main types of loft hatch:
- The hatch rests on the frame of the loft entrance
- The hatch is hinged and will swing down when opened
If you have a hatch that rests on the frame, you can simply put a compression seal or foam strip around the perimeter of the bottom of the loft hatch.
If you’re hatch is hinged, you can apply a compression seal or foam strip to the outside perimeter on the top of the loft hatch, as well as an equivalent strip on the inside of the hatch frame. The two strips will meet and create an airtight barrier.

Windows
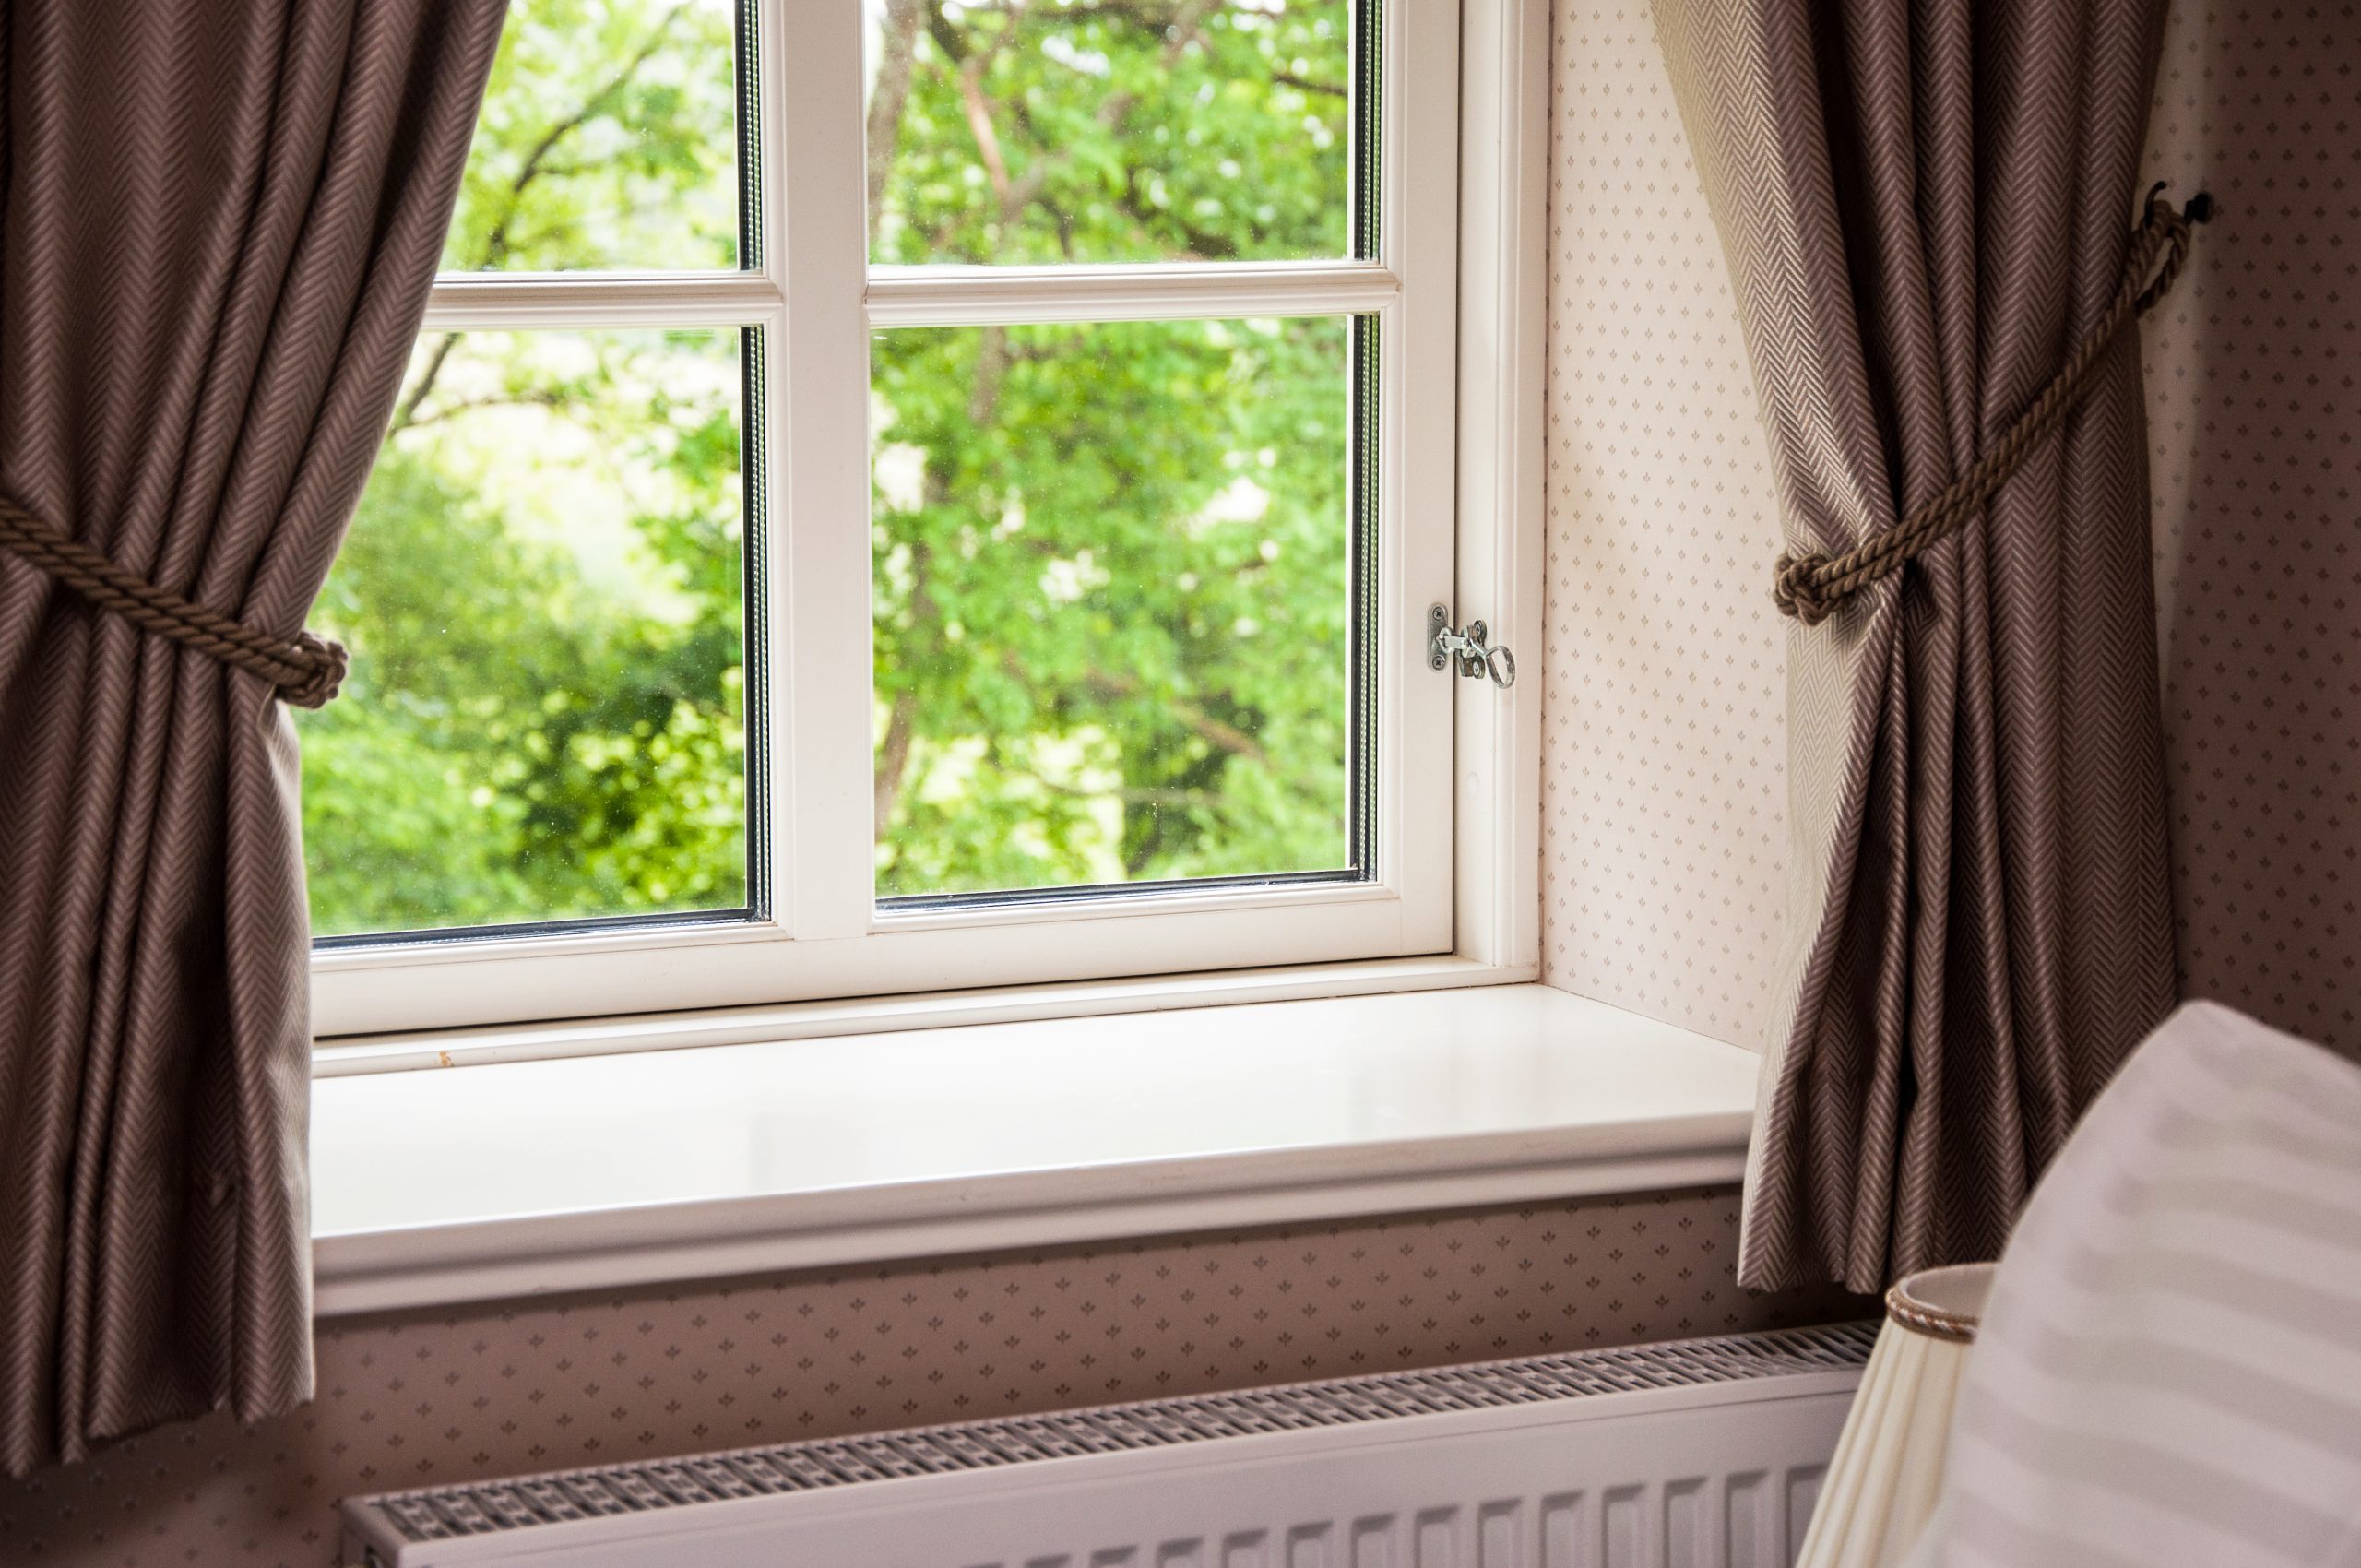
Look for gaps between the window and the frame, and any cold spots around locks and catches.
Ways to draught-proof
Compression seals
These are self-adhesive strips that fit around the window frame, to fill the gap between the frame and the window itself. They give a professional and seamless finish and are particularly useful on narrow window gaps. These are cheap and easy to install but need replacing every few years.
Brush Strips
If you’re looking to draught-proof a sash window or if the gaps between the window and the frame are inconsistent (perhaps due to seasonal changes or because the windows are aged), brush strips might be a better solution. These are more expensive than self-adhesive strips, but also cost a bit more. However, they do last longer.

Silicone sealant
This is a relatively cheap option if you’re looking for a DIY solution, readily available from a range of DIY shops and applied by hand (with the help of an applicator gun). This is the best option if you need to draught-proof windows that don’t open.
Curtains
Sometimes the old technology is the best. Curtains are another option to reducing the effects of draughts once the sun starts going down. You can opt to buy heavy duty curtains or line existing ones (thermal linings are available for extra insulation). Remember not to let your curtains hang over radiators, as this will reduce the amount of heat entering the room.
Doors
Look for draughts around door frames, around the keyhole and the letterbox of your front door.
Draught-proofing external doors should be the priority, as this will prevent cold air from outside entering the property. However, doors that separate cold rooms from warm ones should also be draught-proofed to prevent unwanted circulation of air between the two.
Ways to draught-proof
The door frame
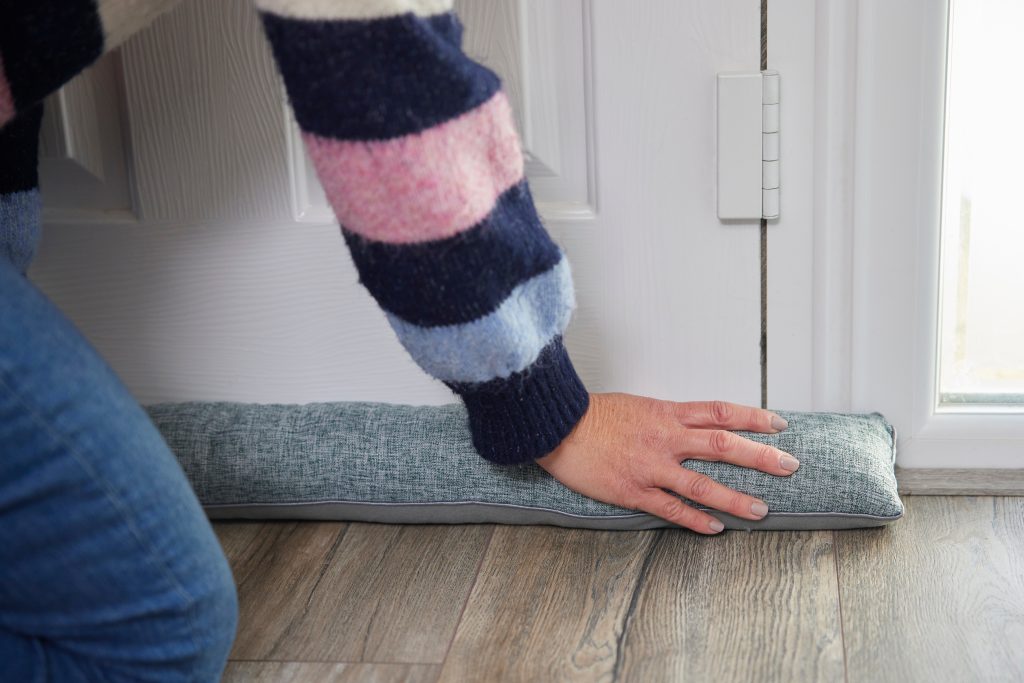
The largest gap around a door frame is often underneath the door. This gap can be covered using a range of easy-to-install items, such as a brush strip, hinged flap, a rubber blade or simply by using a ‘sausage dog style’ draught excluder.
If you can feel draughts around the sides and the top of your doors too, you can use compression seals or brush strips.
The keyhole
These draughts can easily be prevented by installing a keyhole cover. This will simply swing open, allowing you to insert the key, and swing closed again to stop draughts. Make sure you fit it tightly.
The letterbox
You can purchase brushes or flaps that can be fitted to letter boxes to reduce draughts. You can either replace the letterbox itself or screw an additional plate to the inside of the door, behind the letterbox.
Spotlights
Look for draughts around spotlights and downlights in the ceiling
Ways to draught-proof
It’s simple to deal with draughts around spotlights and downlights by fitting specific caps over the top of the light, which can then be covered with insulation. This will be easier (but also more important) for lights in the ceiling below your loft. Make sure that if you lay insulation over light fittings the cap is sealed effectively to prevent the insulation getting warm.


Pipes and vents
Look for draughts where pipes enter and exit your property and around any vents (such as extractor fans).
Ways to draught-proof
Small gaps around pipework or around the edges of vents can be filled using a silicone sealant. For larger gaps or gaps that are irregular in shape, foam-based fillers are very effective and simple to use. These are sprayed into the gap, then allowed to expand and set.
Whatever option you choose, be careful not to block up any air bricks or vents that allow necessary ventilation into your home.
Floors
Look for draughts in between your floorboards and around your skirting boards.
Ways to draught-proof
Floorboards
If you have carpet fitted over your floorboards, you can apply silicone sealant to the gaps between the floorboards (it may be more practical to carry this out when you’re having the carpet replaced). Thicker underlay underneath the carpet is also an effective way to stop draughts.
If you have exposed floorboards, silicon isn’t the best option as it doesn’t give a seamless finish. Good alternatives are available in the form of tube-like rolls that are pushed into the spaces between floorboards, or thin v-shaped lengths of plastic. These are pushed into place between the boards (using a tool as simple as a credit card). When in place they then spring apart to fill the space.
The most effective way to stop draughts under your floorboards is to insulate at the level of the joists. This involves lifting the floorboards and applying insulation between the joists. It’s more costly and time consuming, but might be worth considering, particularly if you are having other work carried out (such as replacing floorboards or renewing your carpet).
Skirting boards
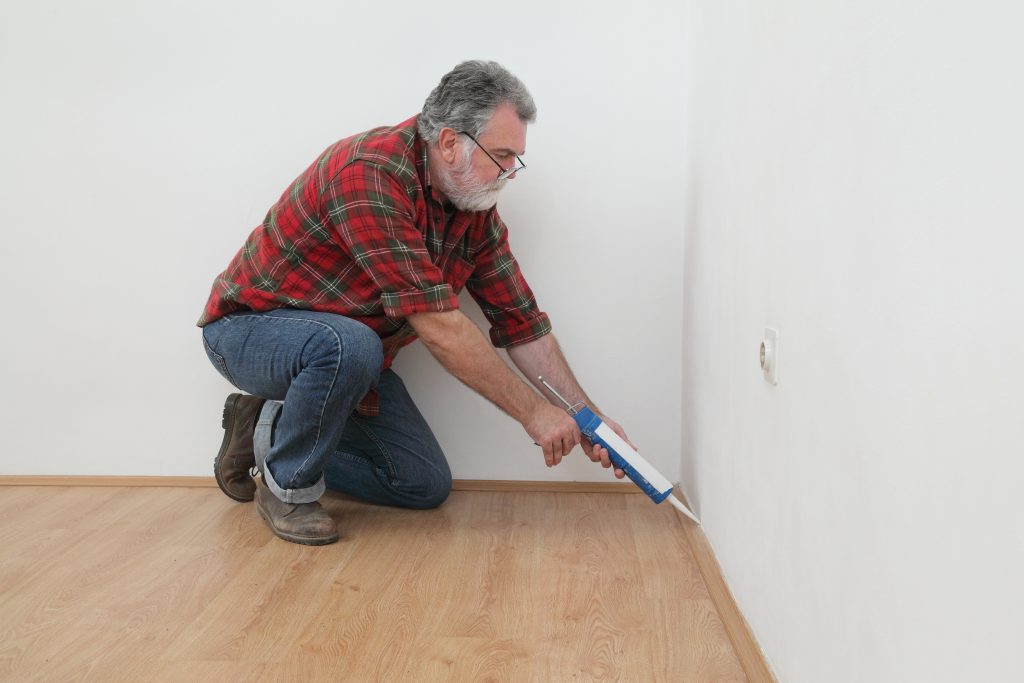
You can draught-proof skirting boards using a silicon sealant or equivalent (such as decorator’s caulk).
Whatever product you choose, if you opt for a filler, sealant or caulk, make sure it’s flexible. Floorboards and skirting boards will expand and contract over time, so it’s best to use a sealant that will do the same.
Chimneys
If you have an open chimney stack (whether or not you use it to light a fire), you’ll be losing unnecessary heat whenever it’s not lit. Draught-proofing a chimney is quick and easy, and it’s possible to use temporary draught-proofing solutions that can be removed if and when you want to light a fire.
Ways to draught-proof
Chimney sheep
These draught-excluders are so-called because they’re made from 100% natural sheep’s wool. They come in different shapes and sizes and sit snuggly inside the chimney, providing an effective barrier between cold outside air and warm indoor air.
Chimney balloons
These devices look exactly as they sound! A chimney balloon ensures a snug fit as you’re able to inflate it to fit your chimney exactly. To install the balloon, simply place it inside the lower region of the chimney stack and inflate, to hold it in place. They are designed to prevent the majority of draughts, but still allow some airflow for ventilation.
Both chimney sheep and balloons are designed to be left in place until you want to light a fire, when they can be easily removed. It’s useful to tie something visible to the end of any draught-excluder you place in the chimney to ensure you remember to remove it before lighting a fire.
Cracks
Look for draughts in old walls, around installed appliances and areas of pipework or cable fittings.
Ways to draught-proof
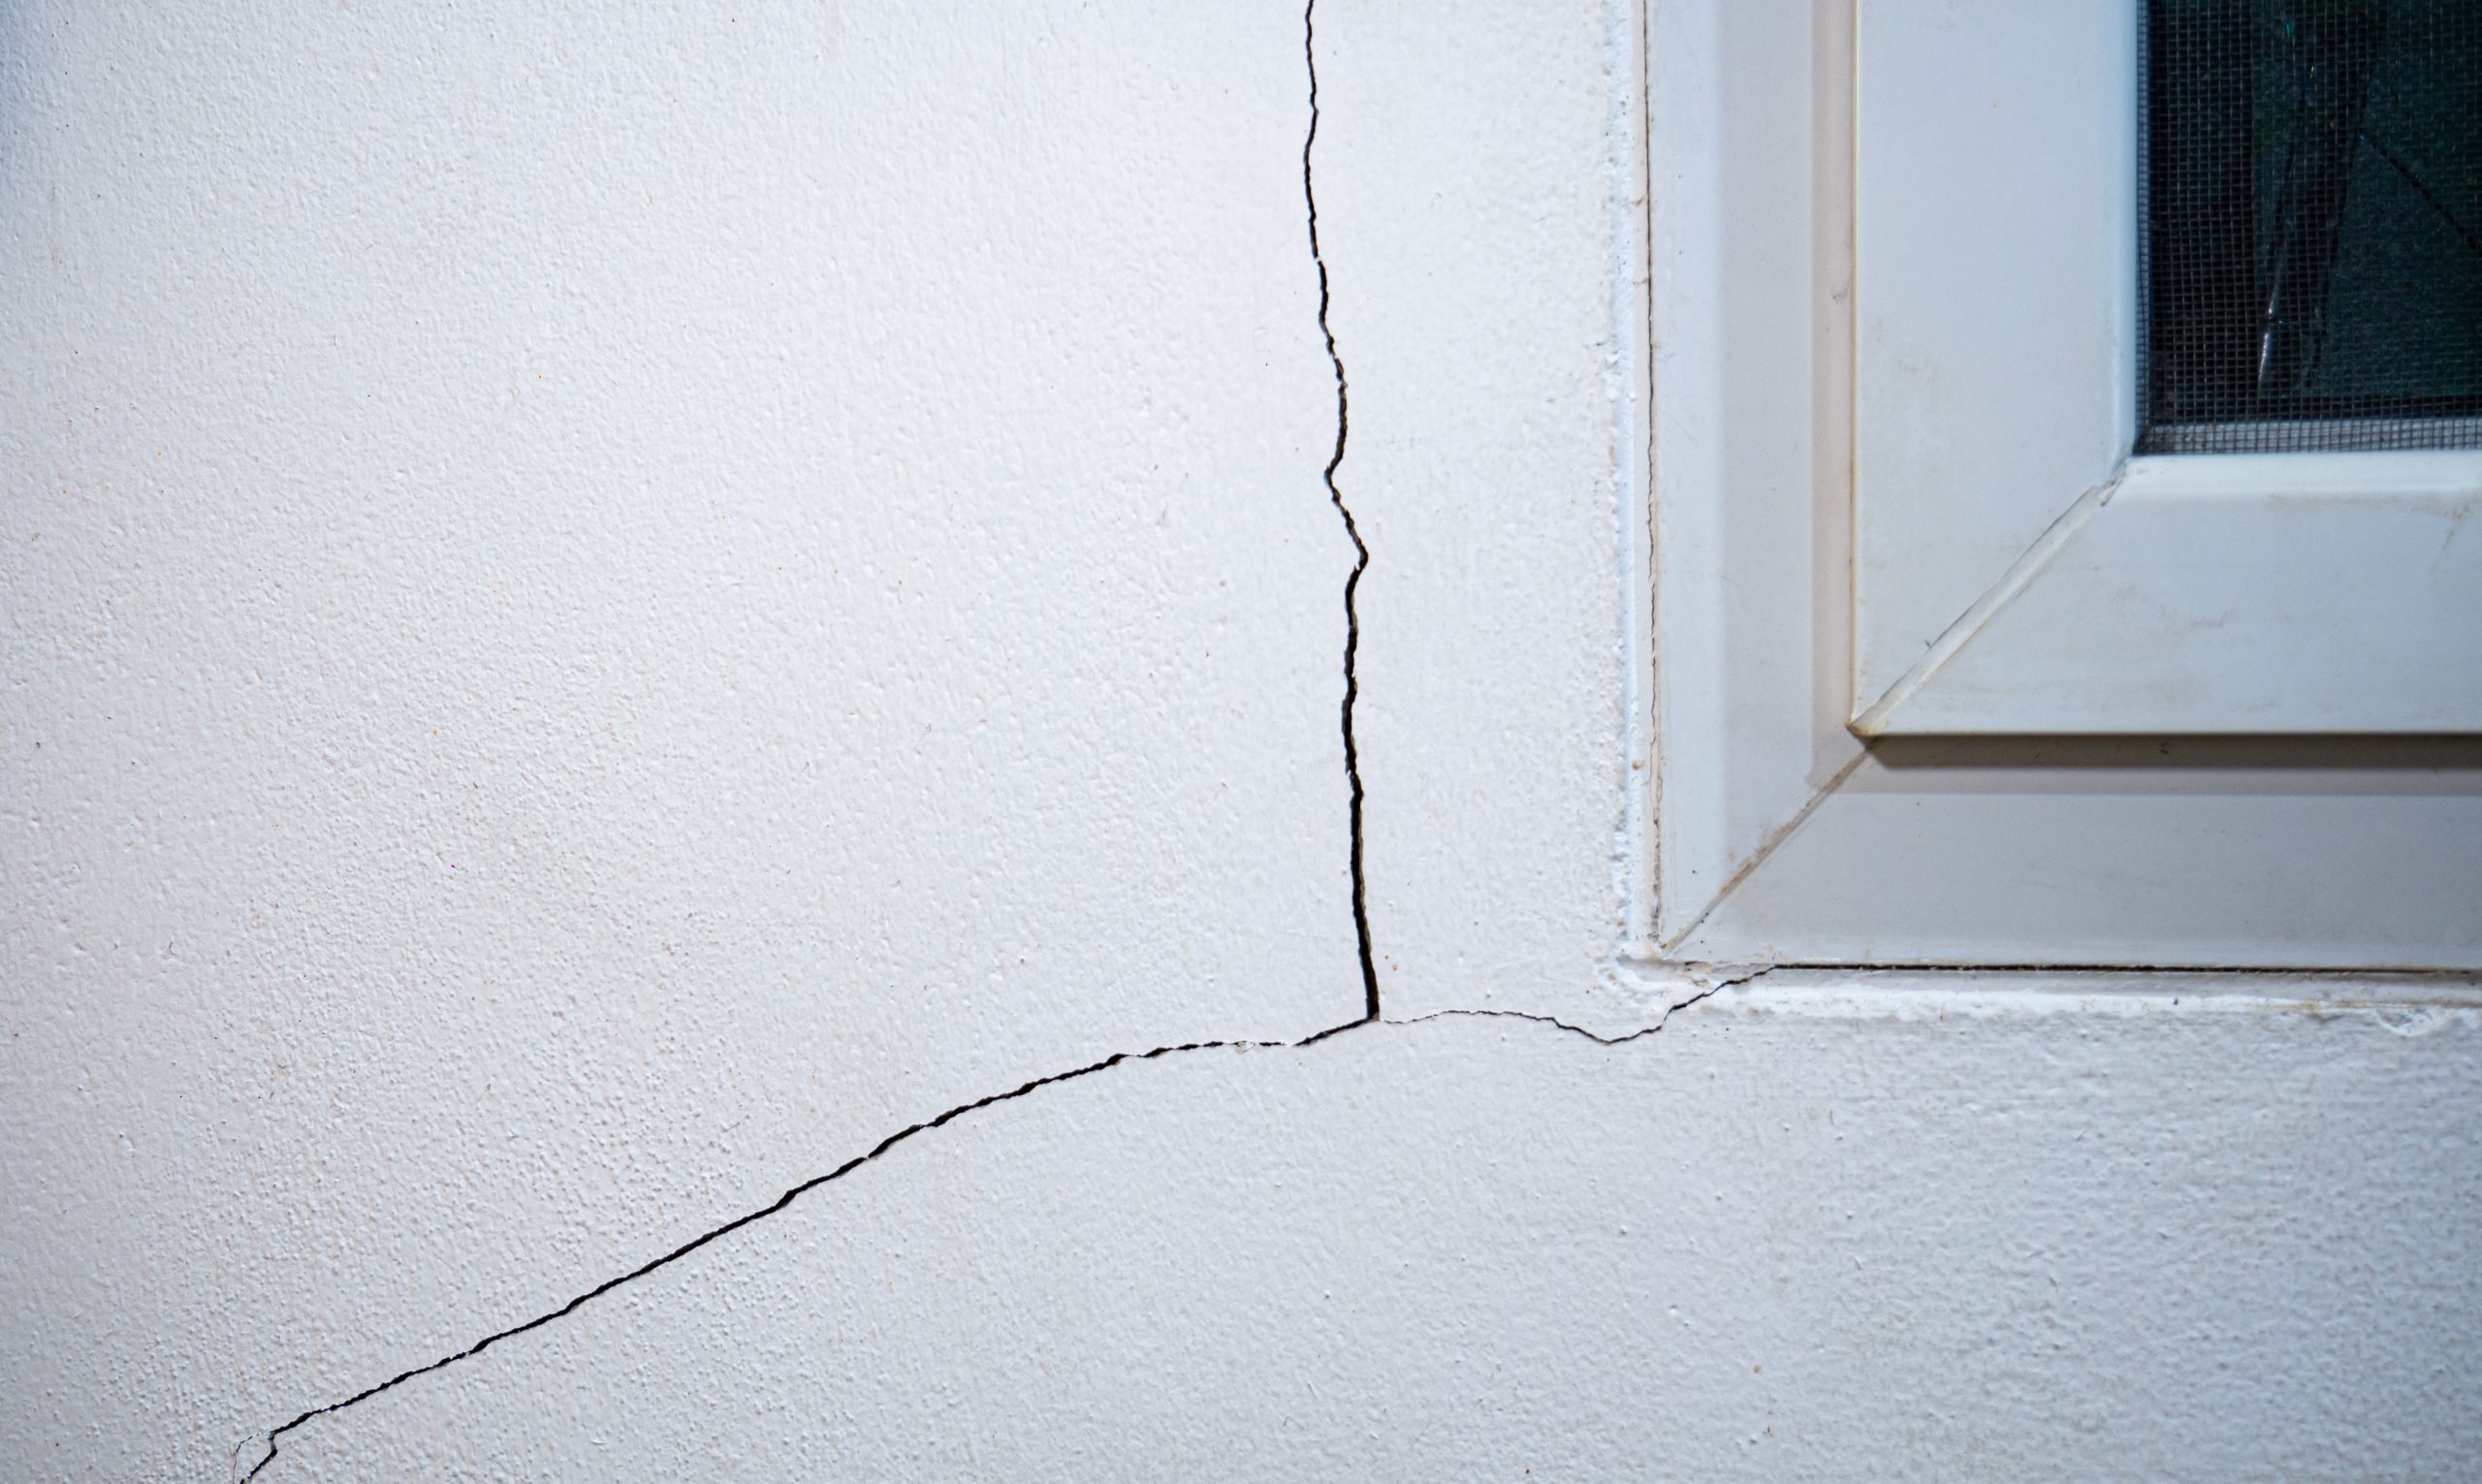
Any small cracks in the walls of your property will inevitably vary in size and can expand and contract depending on seasonal changes and shifting pressure levels. As a result, it’s sensible to use a flexible filler that will allow for a certain level of movement, preventing the crack from simply reopening again.
For larger cracks and gaps, you can use a foam-based filler. Once the foam has set solid it can be sanded down and painted to match the surrounding area. However, if you have any sizable cracks, you should make sure it’s not being caused by any underlying structural issues. If you have any concerns, contact a Building Surveyor who will ensure the structure of the building is sound.
Other things to consider
Ensure you maintain adequate ventilation
It’s absolutely essential to make sure that in the process of draught-proofing, you don’t block up necessary ventilation. Look out for:
- Extractor fans
- Underfloor grilles
- Wall vents
- Air bricks (underfloor or in the walls)
- Trickle vents in windows
- Boiler and fire flues
It’s particularly important that you maintain adequate ventilation in rooms at risk of excess condensation, such as bathrooms, kitchens and utility rooms.
DIY or professional?
Many draught-proofing tasks are quick and simple to carry out yourself. Even if you’re not a seasoned DIYer, you should find tasks such as applying compression strips or filling small cracks simple enough to carry out. However, if you feel uncomfortable completing the work, it may be wise to get a professional in. This is particularly true if you’re planning on carrying out anything more complex, such as insulating floor joists. Although it will cost more, it’s also likely that professional draught-proofing will save you more money in the long-term, as the installer will use the best product available for the job in the most appropriate way.
Choosing an installer
We would always recommend getting more than one quote whenever you’re having The National Insulation Association website (nia-org.uk) lists registered installers whose work is guaranteed for ten years.
Finding the right person to carry out major work to your home can be a daunting challenge. To help property owners make the right decision, we run an established database of suitably qualified local installers. To get started, simply visit the Link to Energy website and enter your postcode or town.

Making big changes? You could consider airtightness
If you’re thinking about retrofitting your property (or even building from scratch), airtightness is something you need to think about. It’s similar to controlled ventilation because it eliminates unintended gaps, cracks, and holes in the fabric of the building, ensuring reduced heat loss and improving energy efficiency.
Airtightness doesn’t mean that the building is sealed up like a vacuum. It means that unintended air leakage is reduce, meaning there’s less uncontrolled airflow around the building. Less air leaving the building means less heat loss, which in turn means your heating system will be able to work more efficiently, reducing your bills and cutting energy waste. Improving the airtightness of your home means you’ll be improving the level of thermal comfort you experience. You’ll be better insulated against the cold in winter, but also less likely to experience overheating in the summer. So, comfort in your home all year round.
So long as you’ve got a properly designed ventilation system, airtightness will eliminate damp and mould and improve indoor air quality. Many buildings rely on a certain level of natural ventilation or air leakage to maintain an adequate level of ventilation. This is why at certain times of the year many households find themselves dealing with excess condensation in their properties. By introducing a planned or mechanical ventilation system alongside airtightness, you’re able to control the level of ventilation in your property.
If you’re considering having work like this carried out or would like to find out more about how Severn Wye could support you with your retrofit journey, head to our website to see our full range of services