
A guide to thermal imaging cameras
This guide is for anyone looking for help using a thermal imaging camera. If you live in South Gloucestershire you may be able to borrow a camera for free from your local library – find out more on the Council’s website.
How do thermal imaging cameras work?
Put simply, thermal imaging cameras detect and measure ‘infrared radiation’, which is the amount of heat coming from an object. The camera displays the amount of heat picked up through the lens, allowing you to see where the high heat areas are, inside and outside of your home. Using a thermal imaging camera will help you to identify areas where you might be losing heat.
A practical, step-by-step guide to using your camera
Turning on the camera
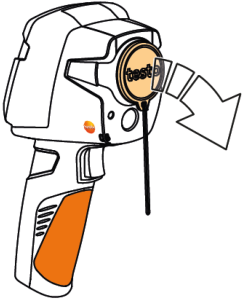


Remove the protective lens cap.
Press Power to turn the camera on.
If the display does not turn on, charge the battery.
Wait 90 seconds for the camera to warm up.
Taking a measurement/ image
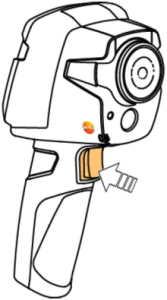
Good to know
The camera will carry out something called ‘zeroing’ every 60 seconds. This checks the device is measuring accurately. You will hear a click when this happens, and the image will freeze briefly.
Do not change the measurement settings.
Point the camera at the area you want to measure.
Press the trigger to take an image.
Listen for the clicks.
Viewing your images
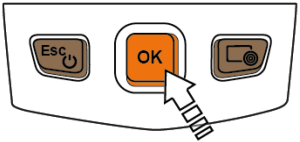
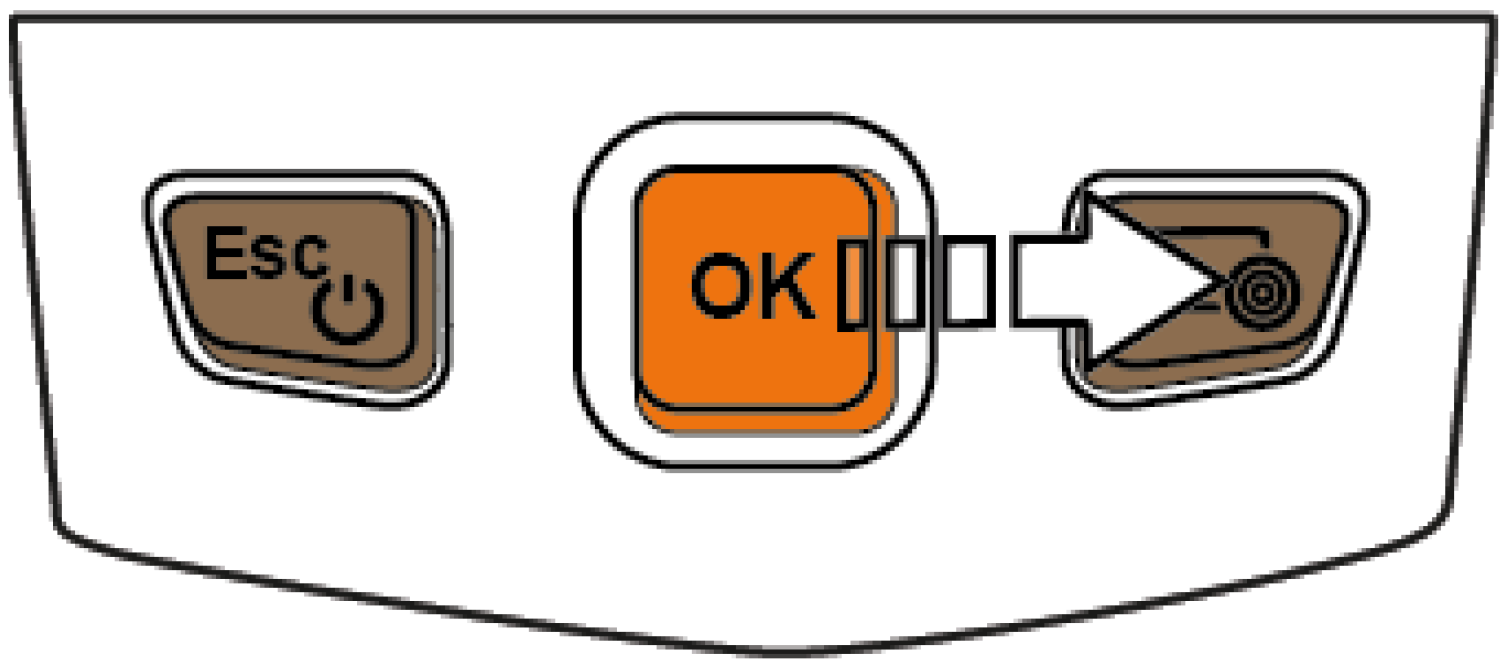
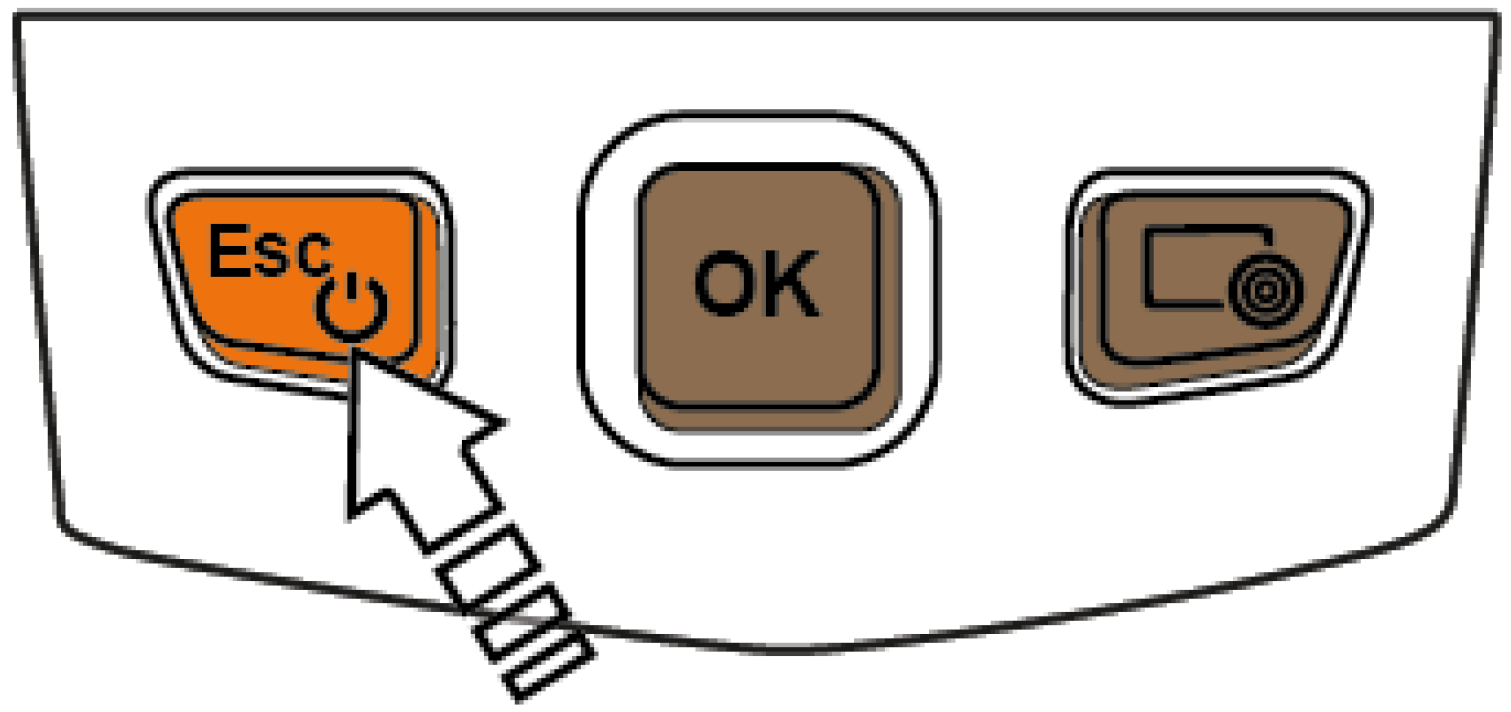
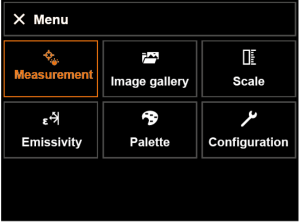
Press OK to access the menu.
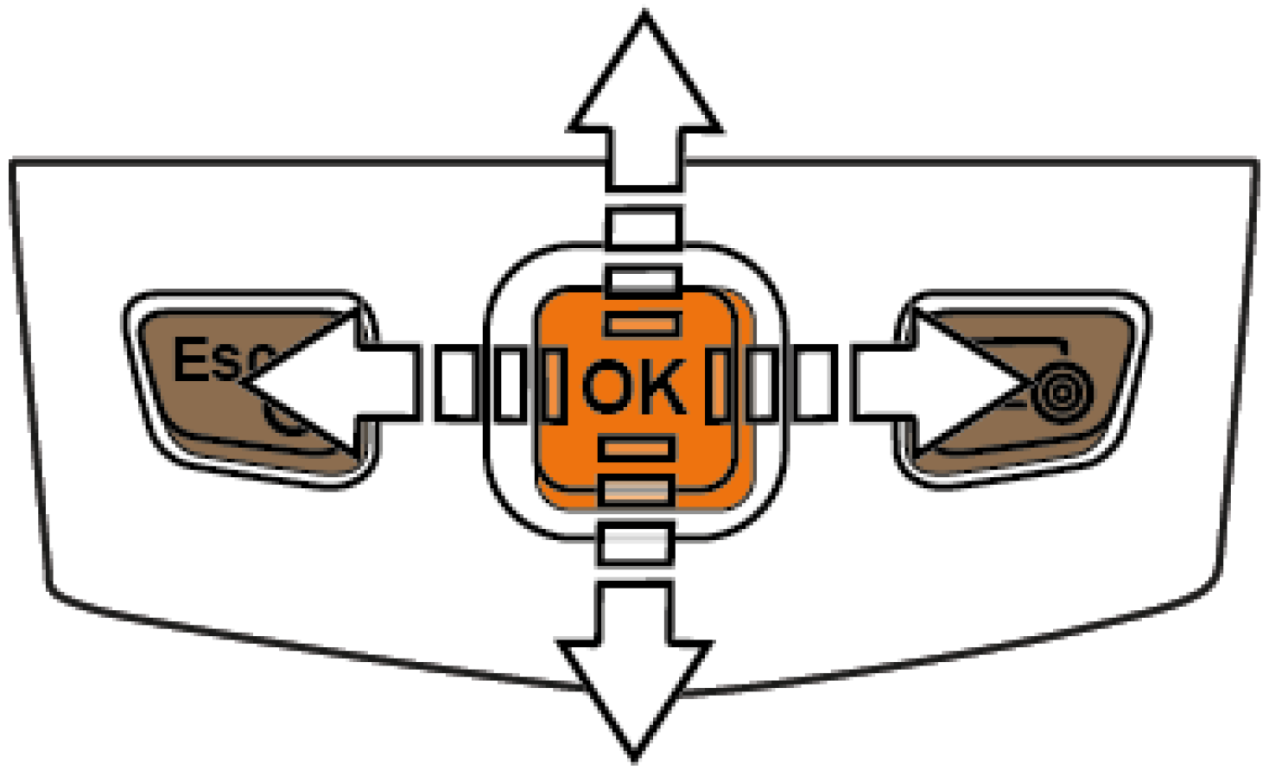
Move right on the joystick to select Image gallery.
Use the joystick to select an image and press OK.
Press Esc to return to the main menu.
Saving photos on to a computer
Image need to be saved as JPEG files
On the camera select
Menu >
Configuration >
Save JPEG
Press
OK
Move the joystick up or down until On is selected
Select the tick icon and press OK
When you take photos they will now be saved as JPEG files.
To get the photos off the camera connect it to a computer, using a micro USB cable.
The camera will appear on the computer as if it was an external hard drive or memory stick. Simply copy over the JPEG photo files to your computer.
While still connected to the computer you will be able to delete the photos from the camera.
When you have finished

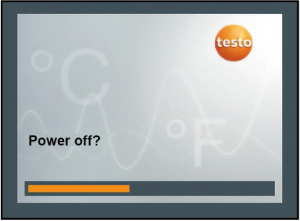

Press and hold the Power button.
Keep Power pressed until progress bar complete.
The display will go blank.
If you are colour blind you can adjust the colour palette through the Menu.
Making the most of the thermal imaging camera


Using the camera inside:
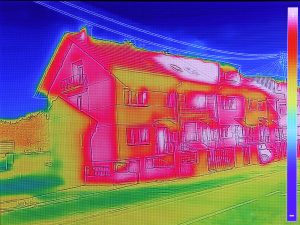
red is good.
Using the camera outside:
red is bad
Inside the camera will show blue areas where heat is leaving the building.
Ideal conditions:
- 10°C warmer inside than out
- rooms are up to temperature with heating off
- avoid recently used bathrooms.
What to look at:
- joins in the building work (such as where joists meet, or woodwork is hiding a joint)
- around windows and doors
- floors and external walls
- flooring in your loft space
- bathrooms and utility rooms.
What to look for:
- bluer (cooler) areas of floors and walls may need improved insulation
- areas that appear cold in ‘wet’ rooms such as bathrooms, may be areas of water, condensation or damp
- cold spots between the insulation in your loft.
Thermal imaging cameras can’t see ‘into’ the walls of your home; they detect heat radiating ‘out’ of surfaces. When you use the camera outside you will be see red areas where heat is leaking out of the building.
Ideal conditions:
- evening or a cold day
- 10°C cooler outside than inside
- avoid rain or direct sunshine.
What to look at:
- joins in the building work (such as extensions)
- around windows and doors
- roofs and walls
- ventilation points, such as airbricks, chimneys or extraction fans.
What to look for:
- red-coloured gaps and holes are often draughty spots that can easily be filled
- redder tints to walls and roofs may need extra insulation installed.
What next?
If you’ve used a thermal imaging camera, you’ll know the areas of your home that need attention. Much of this can be done for a low cost, and there is sometimes funding to help you make bigger changes. Measures can include loft insulation, cavity wall insulation, solid wall insulation and draught-proofing.
You can find more information about these measures and lots more in our resource library.